不需要OAuth驗證即可存取 Google Drive 檔案 - 使用 Golang
前言
有一個專案中有許多圖片,希望能找一個儲存空間,並且可以由不懂程式的使用者管理/備份。
因此,Google Drive 是一個非常符合此專案需求的解決方案。
只要將圖片都儲存到特定某一位客戶的 Google Drive 即可,
因此,系統也不需要進行 OAuth 驗證,只要請該客戶預先開啟共享資料夾。
API事前的準備、請求客戶開啟資料夾的準備、Google Drive API 的使用也都不複雜,4個步驟即可完成。
不過若原先程式儲存資料的地方是 Cloud Storage,得要把原先 Cloud Storage 存取的程式片段都換成 Google Drive 就是了。
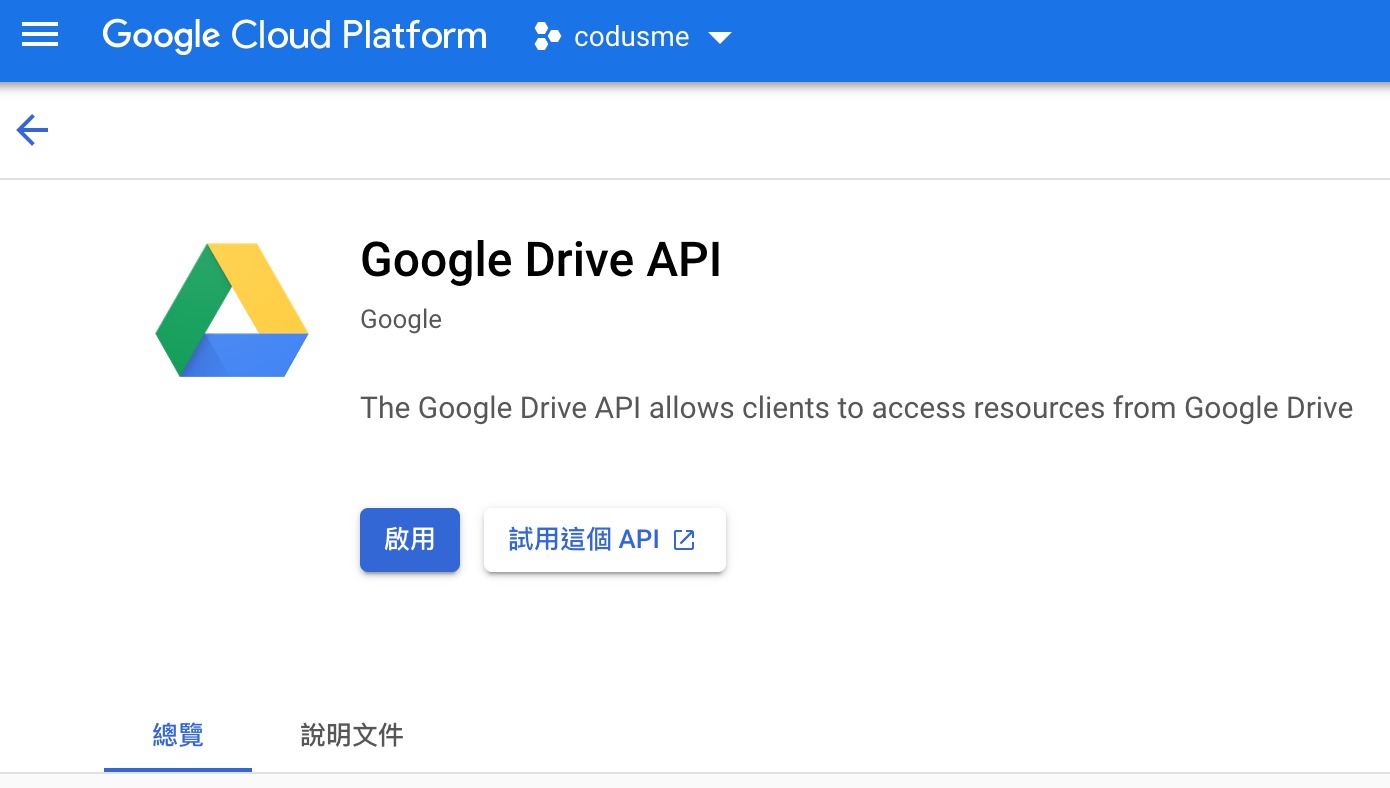
步驟1 啟用 API 服務
在 Cloud Platform Enable Google Drive API
參考連結:
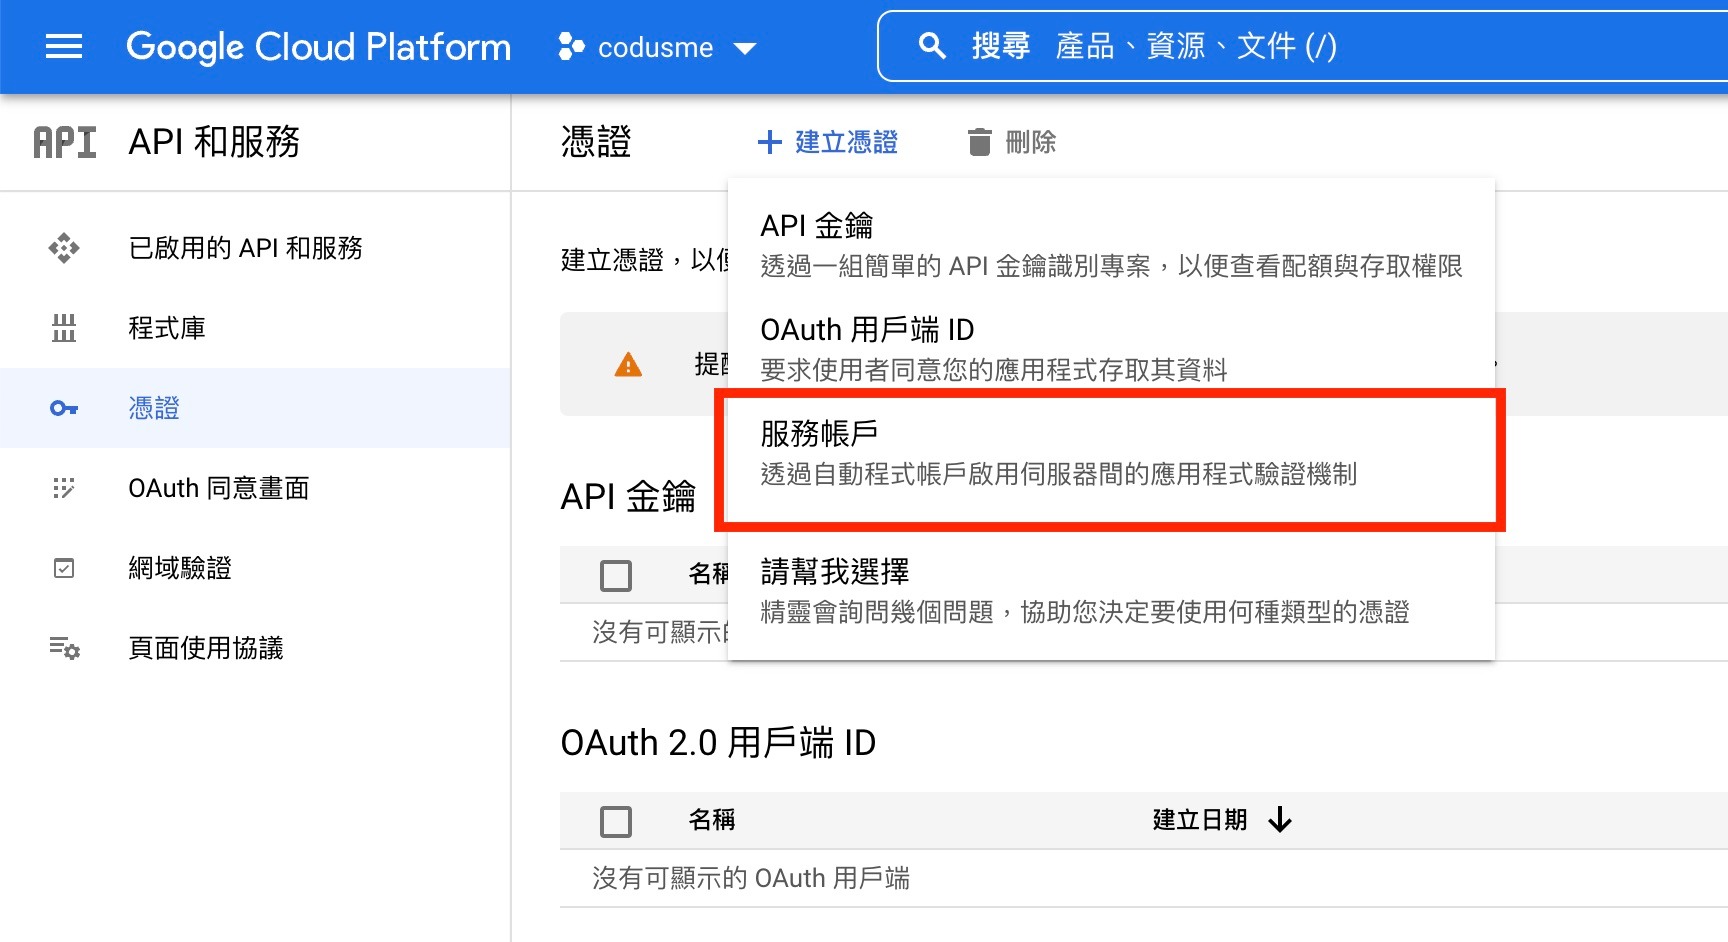
步驟2 建立憑證(服務帳號)與金鑰
1. 在「建立憑證」頁面,選取「服務帳號」
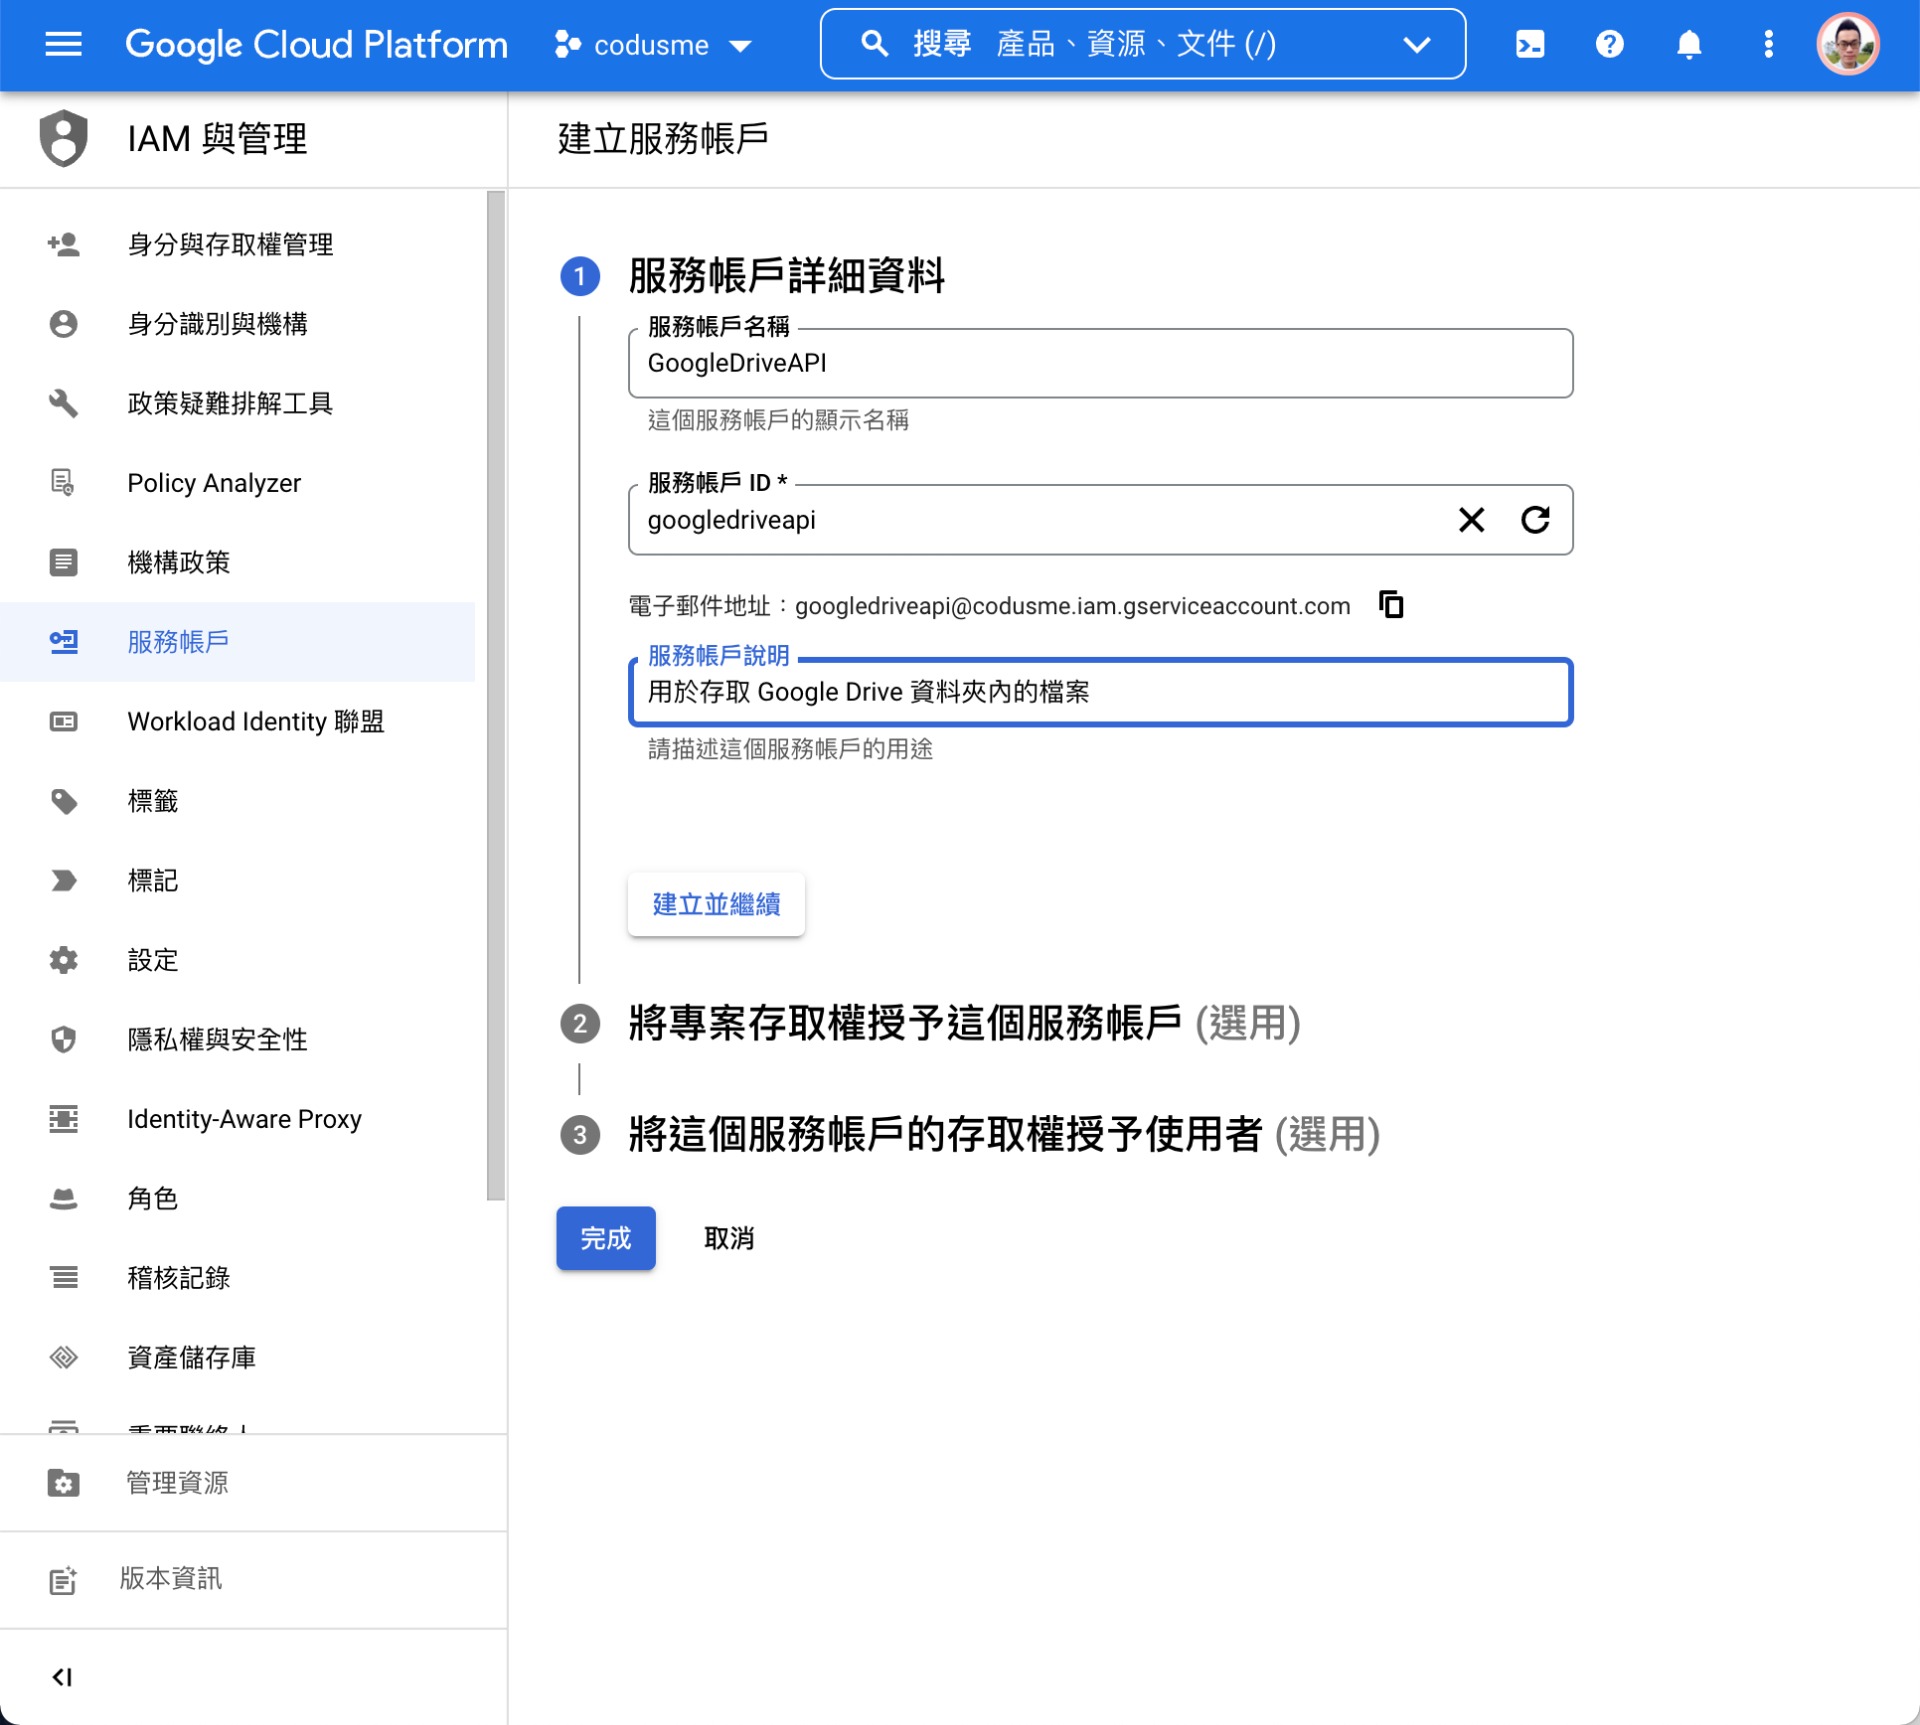
2. 輸入服務帳號資訊
帳號名稱/ID可以自己取,例如: GoogleDriveAPI
說明可以留空,建議輸入自己看得懂的備註
3. 權限的部分不太需要,給予最低的「瀏覽者」權限即可
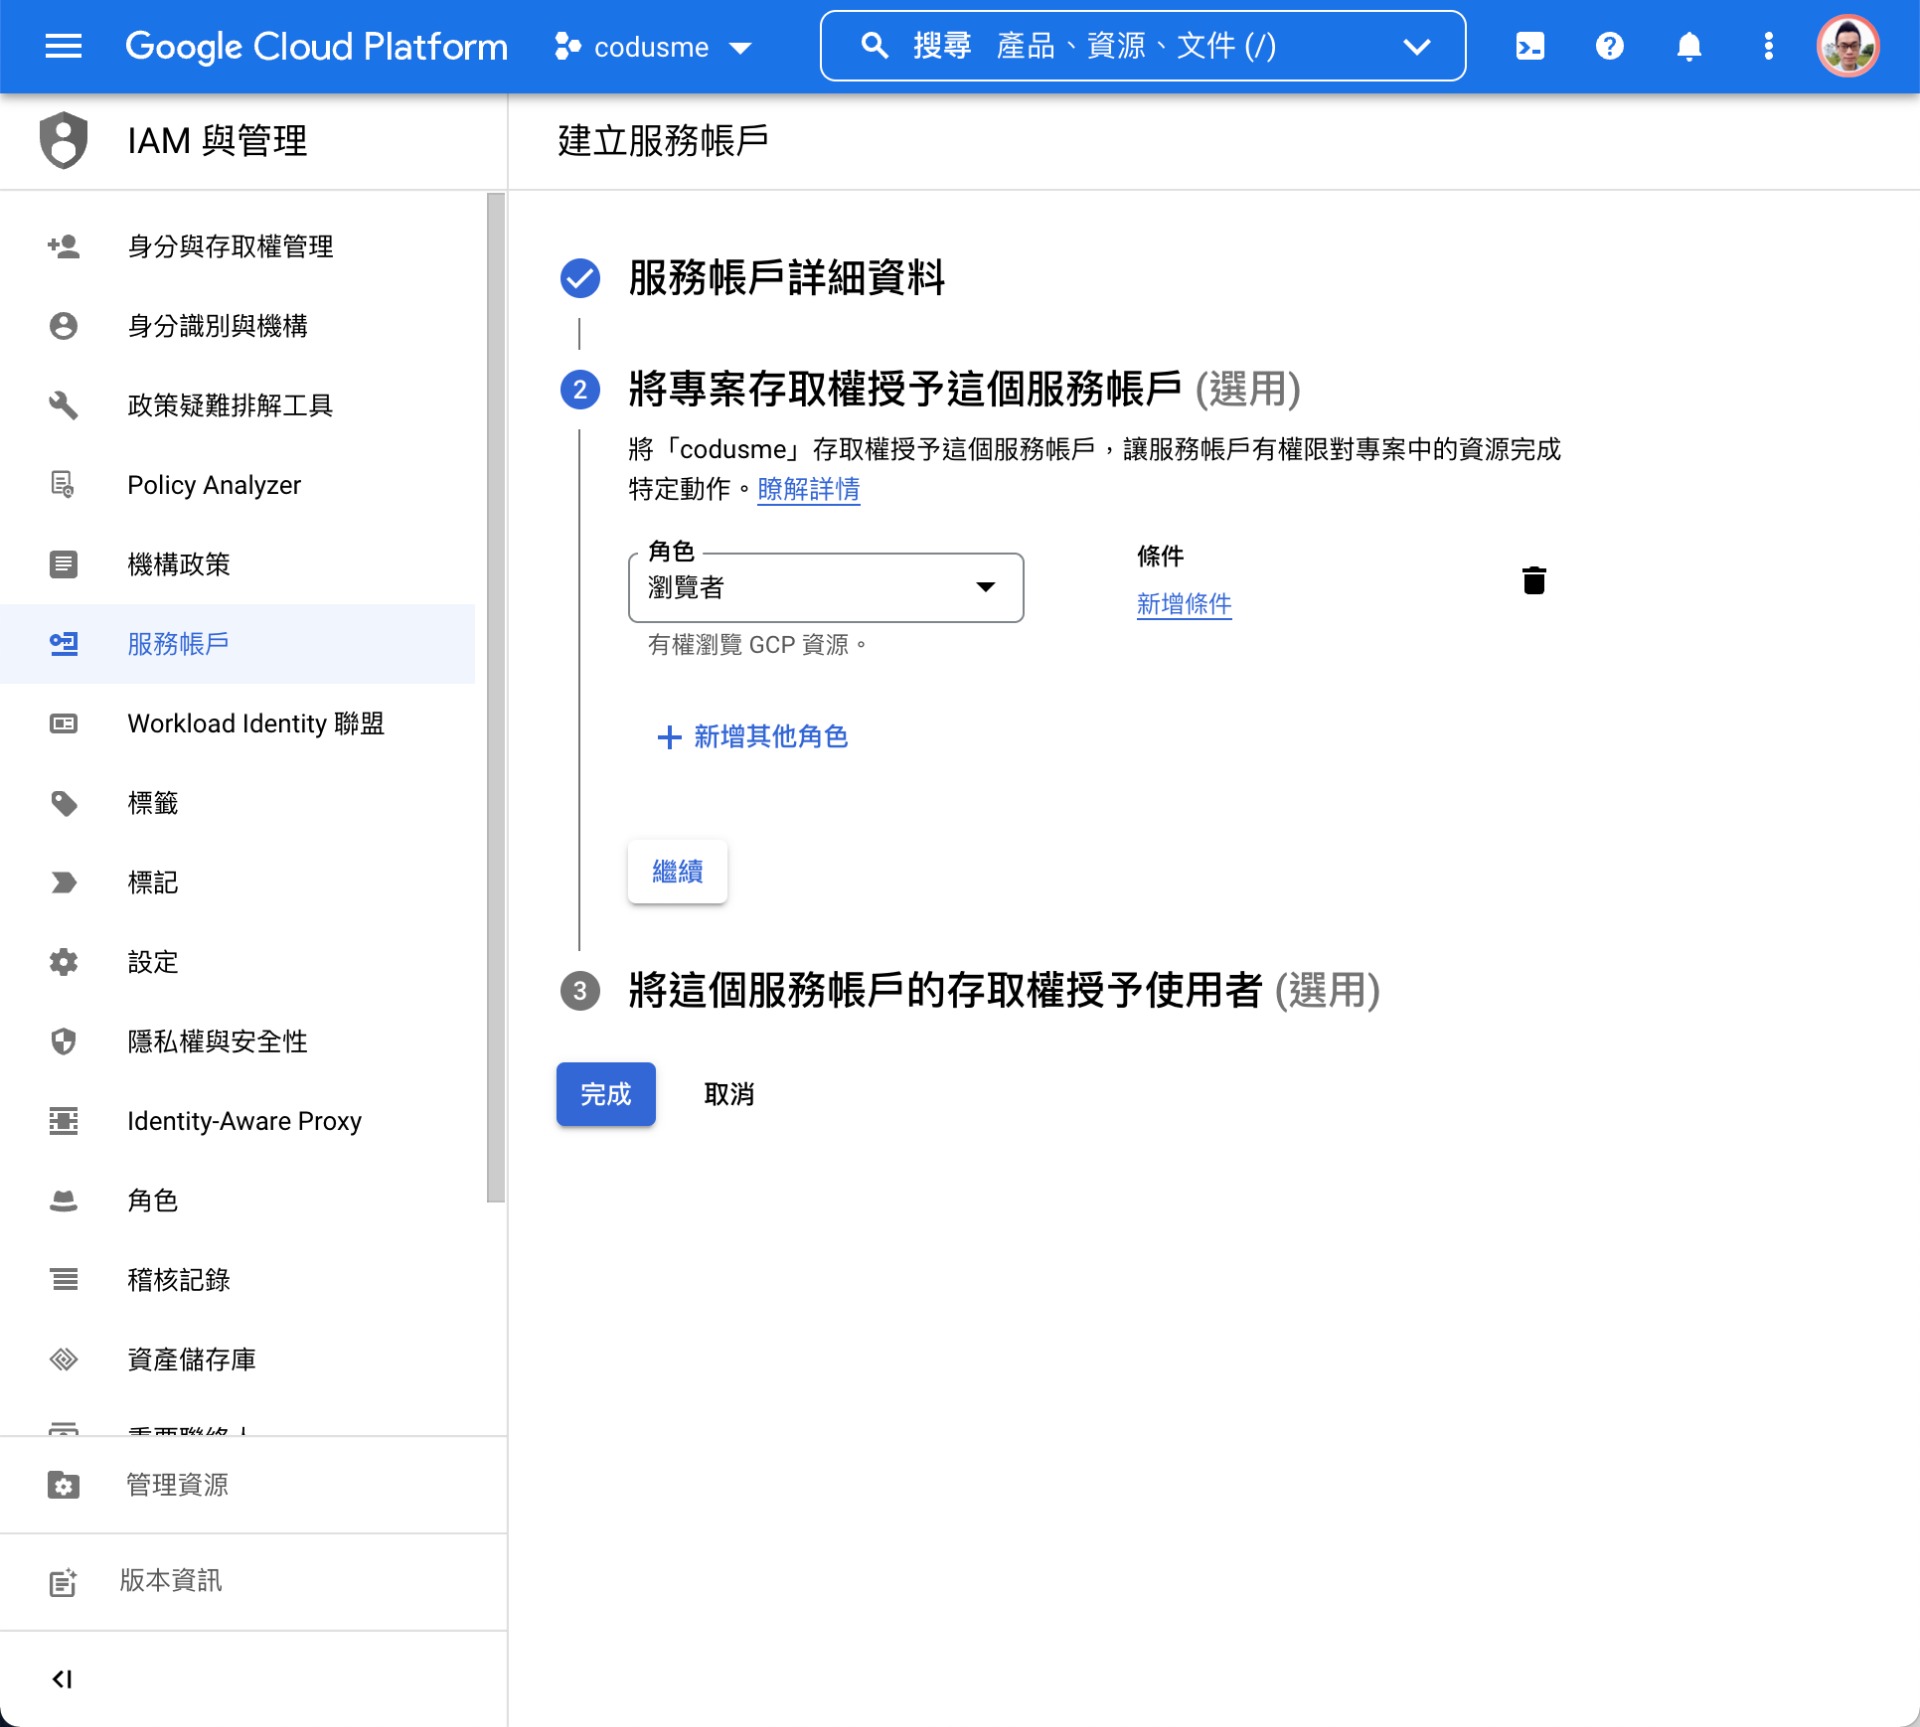
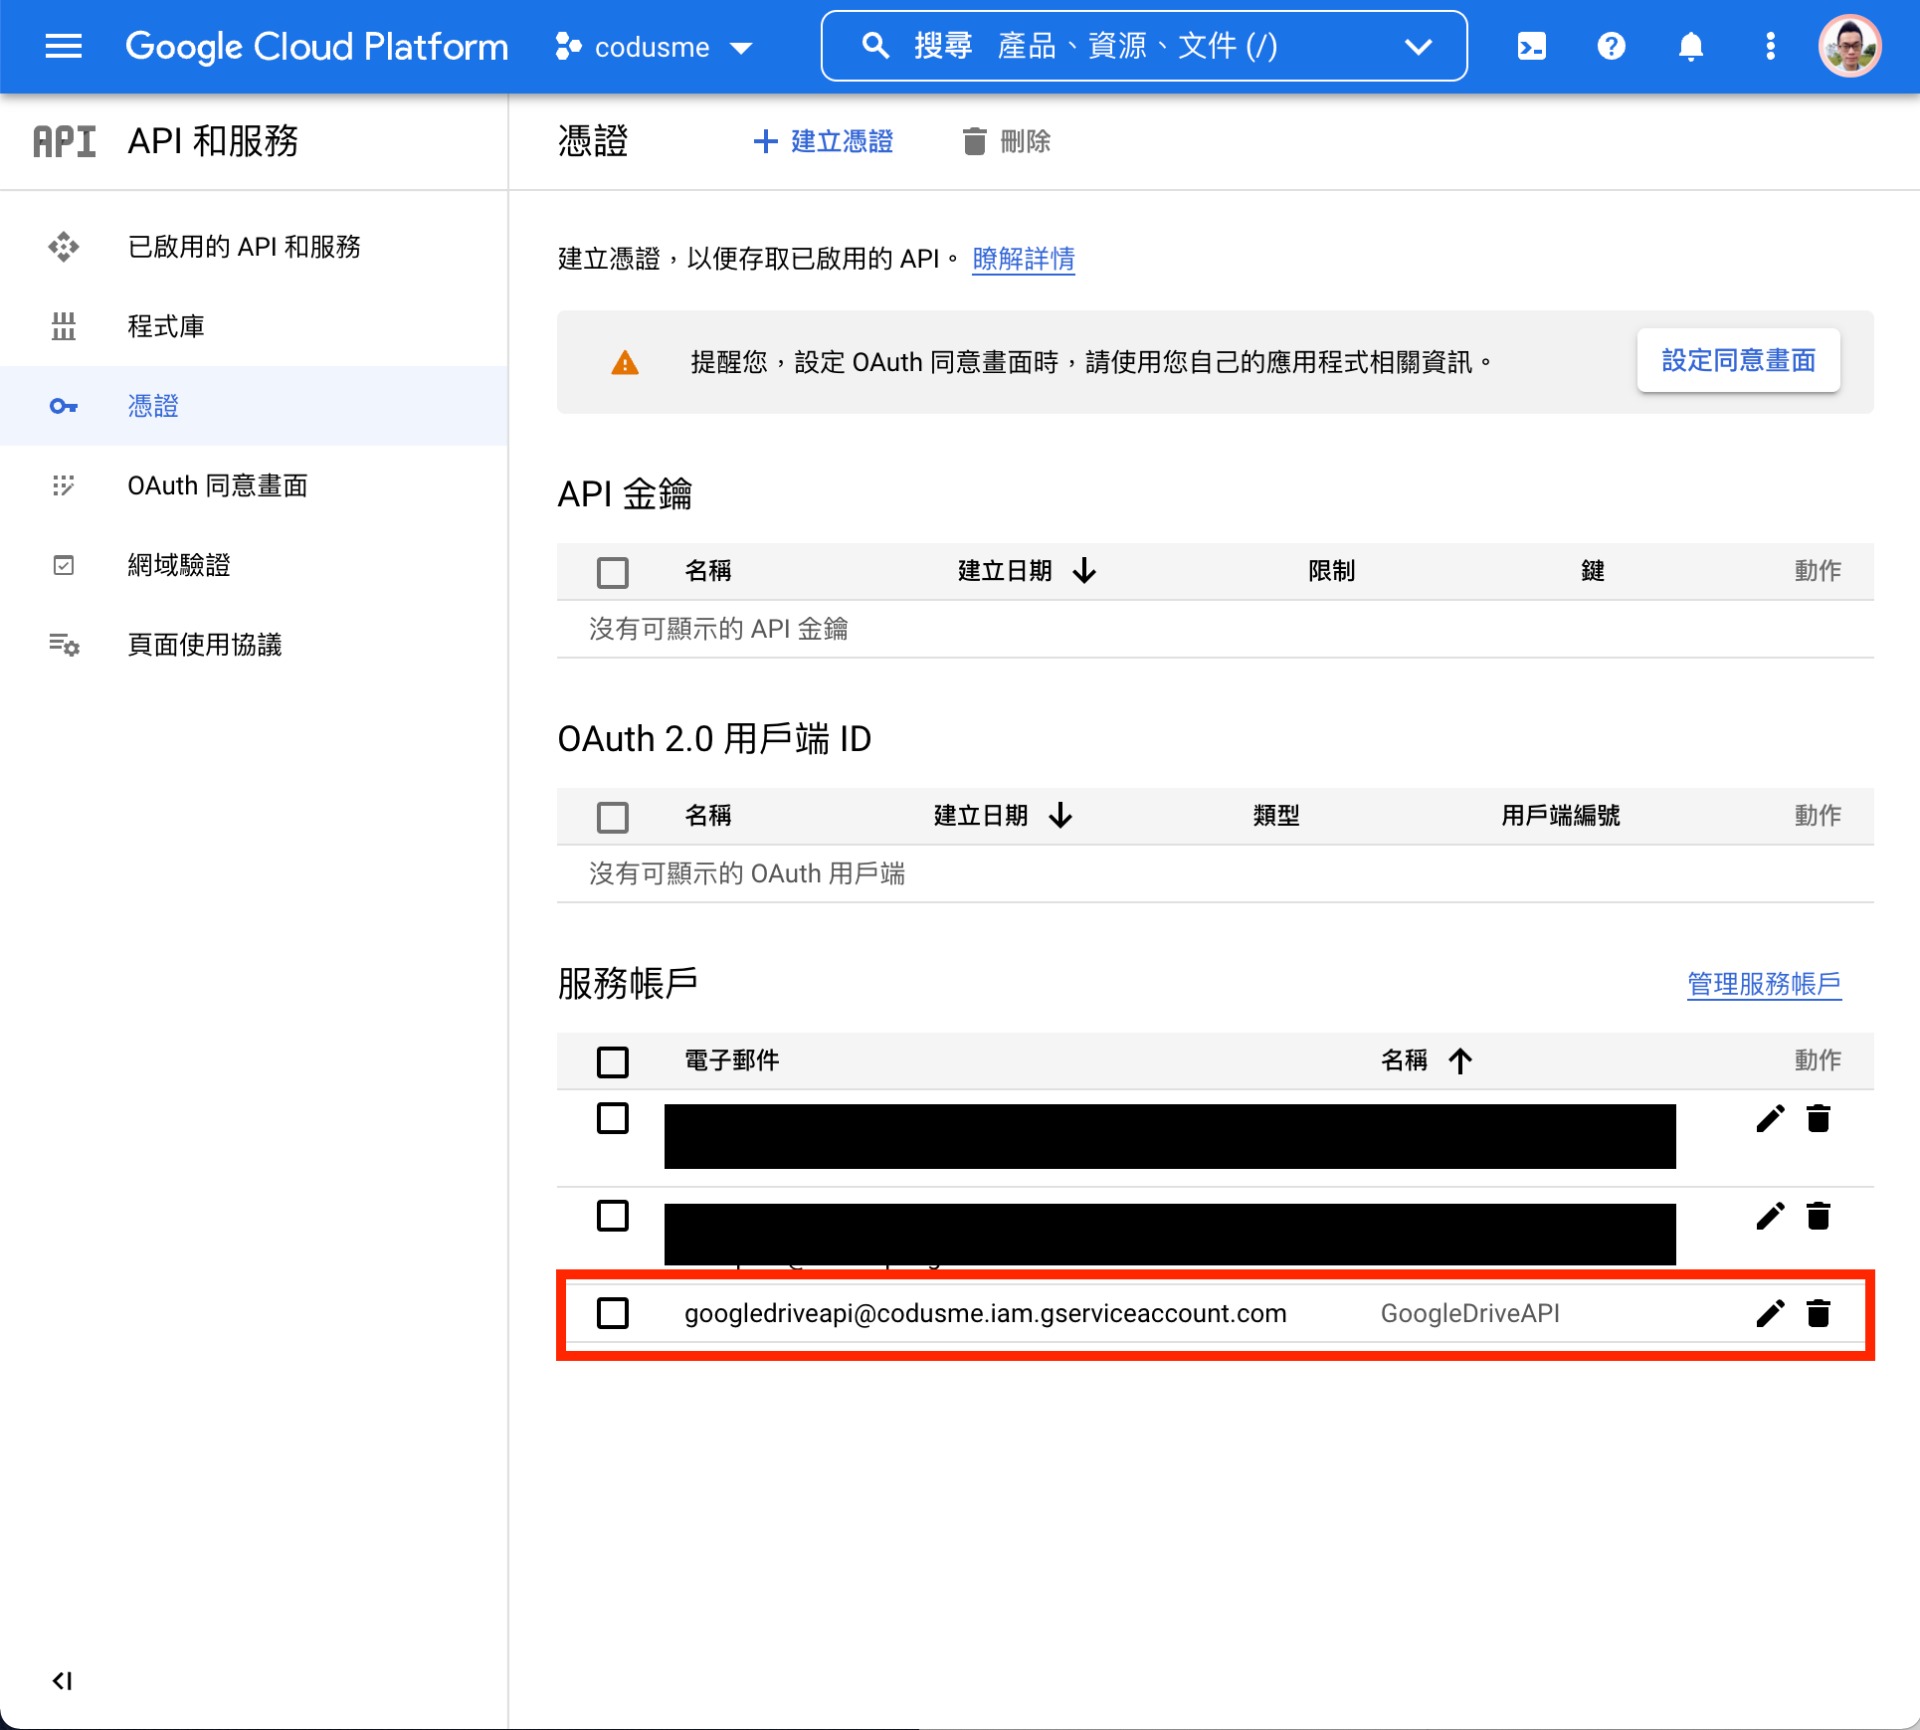
4. 建立完成之後就可以在下方看到剛才建立的服務帳號了!
緊接著要建立金鑰,用於應用程式存取。
5. 點進去剛才建立的服務帳號,在「金鑰」頁籤點擊「建立金鑰」
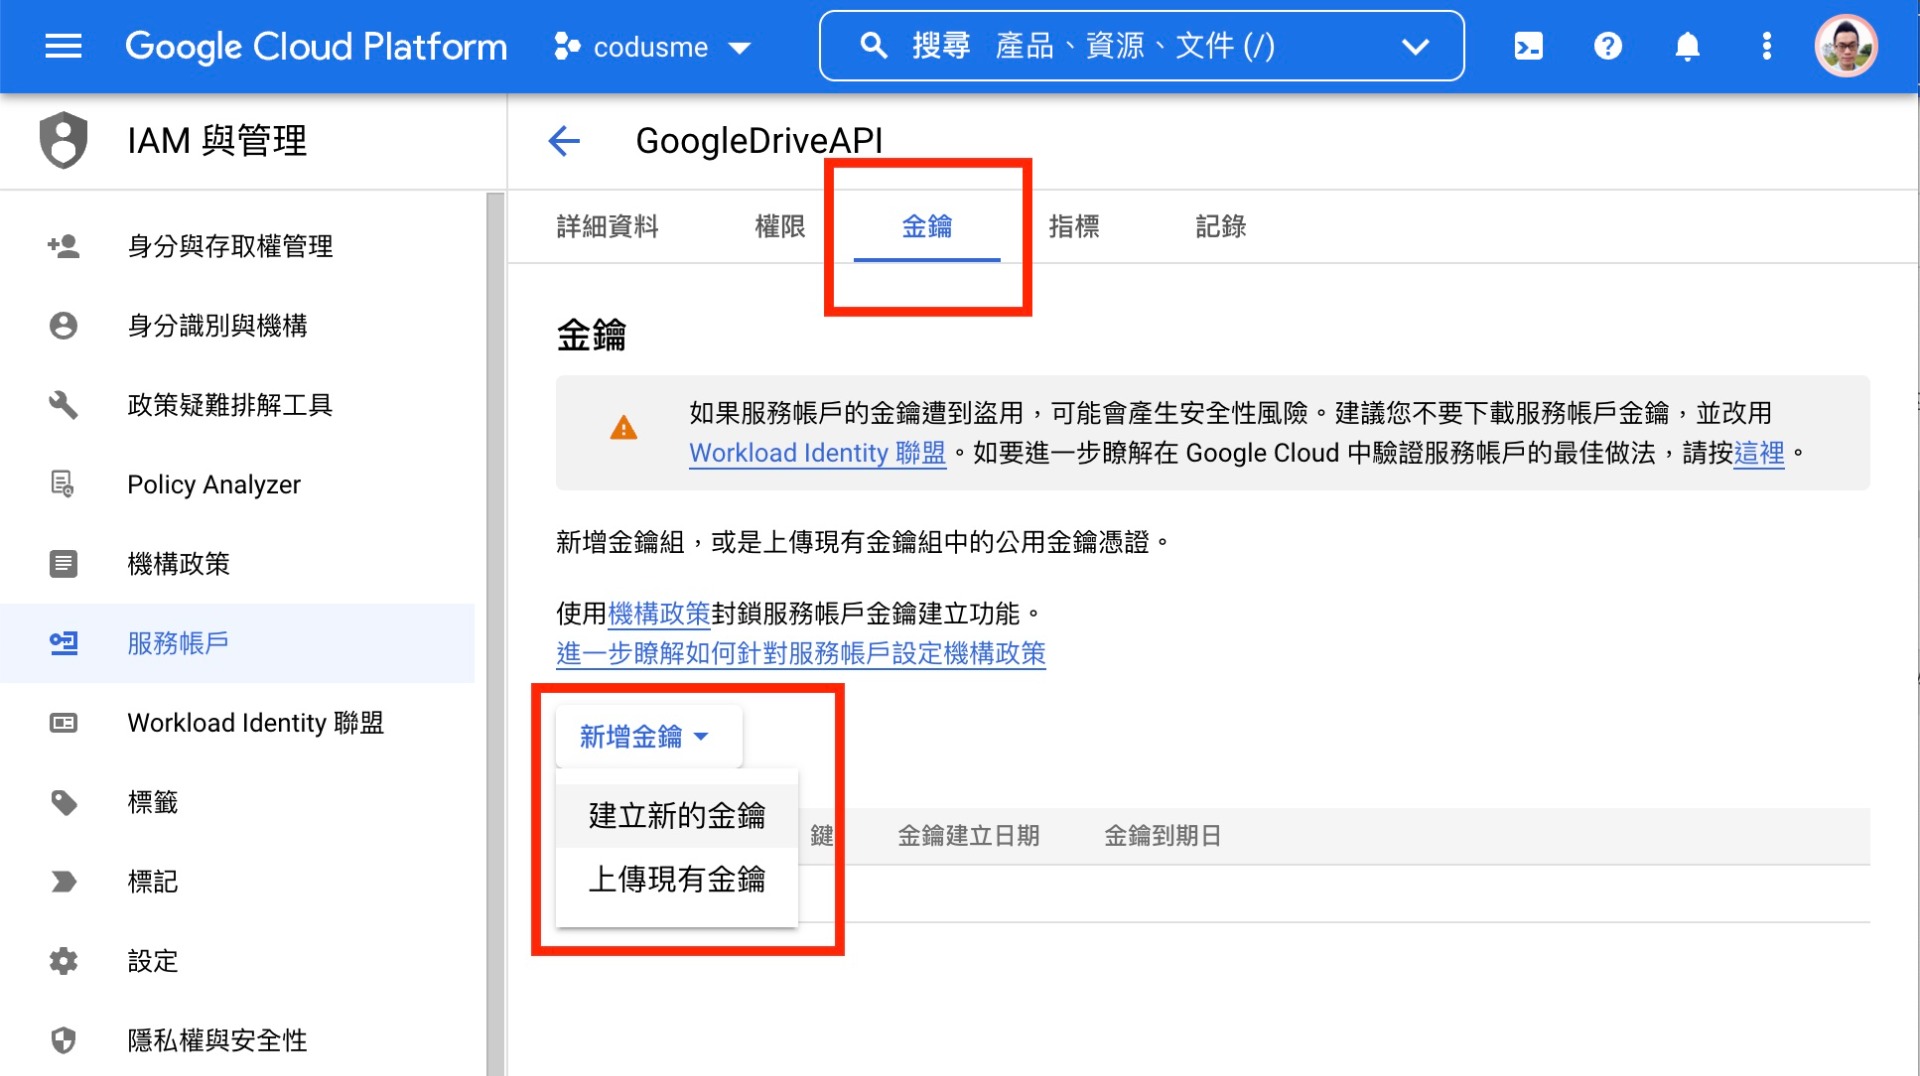
6. 選擇「JSON」格式後,會建立金鑰並下載 .json 檔案,這個檔案稍後串接程式會用到

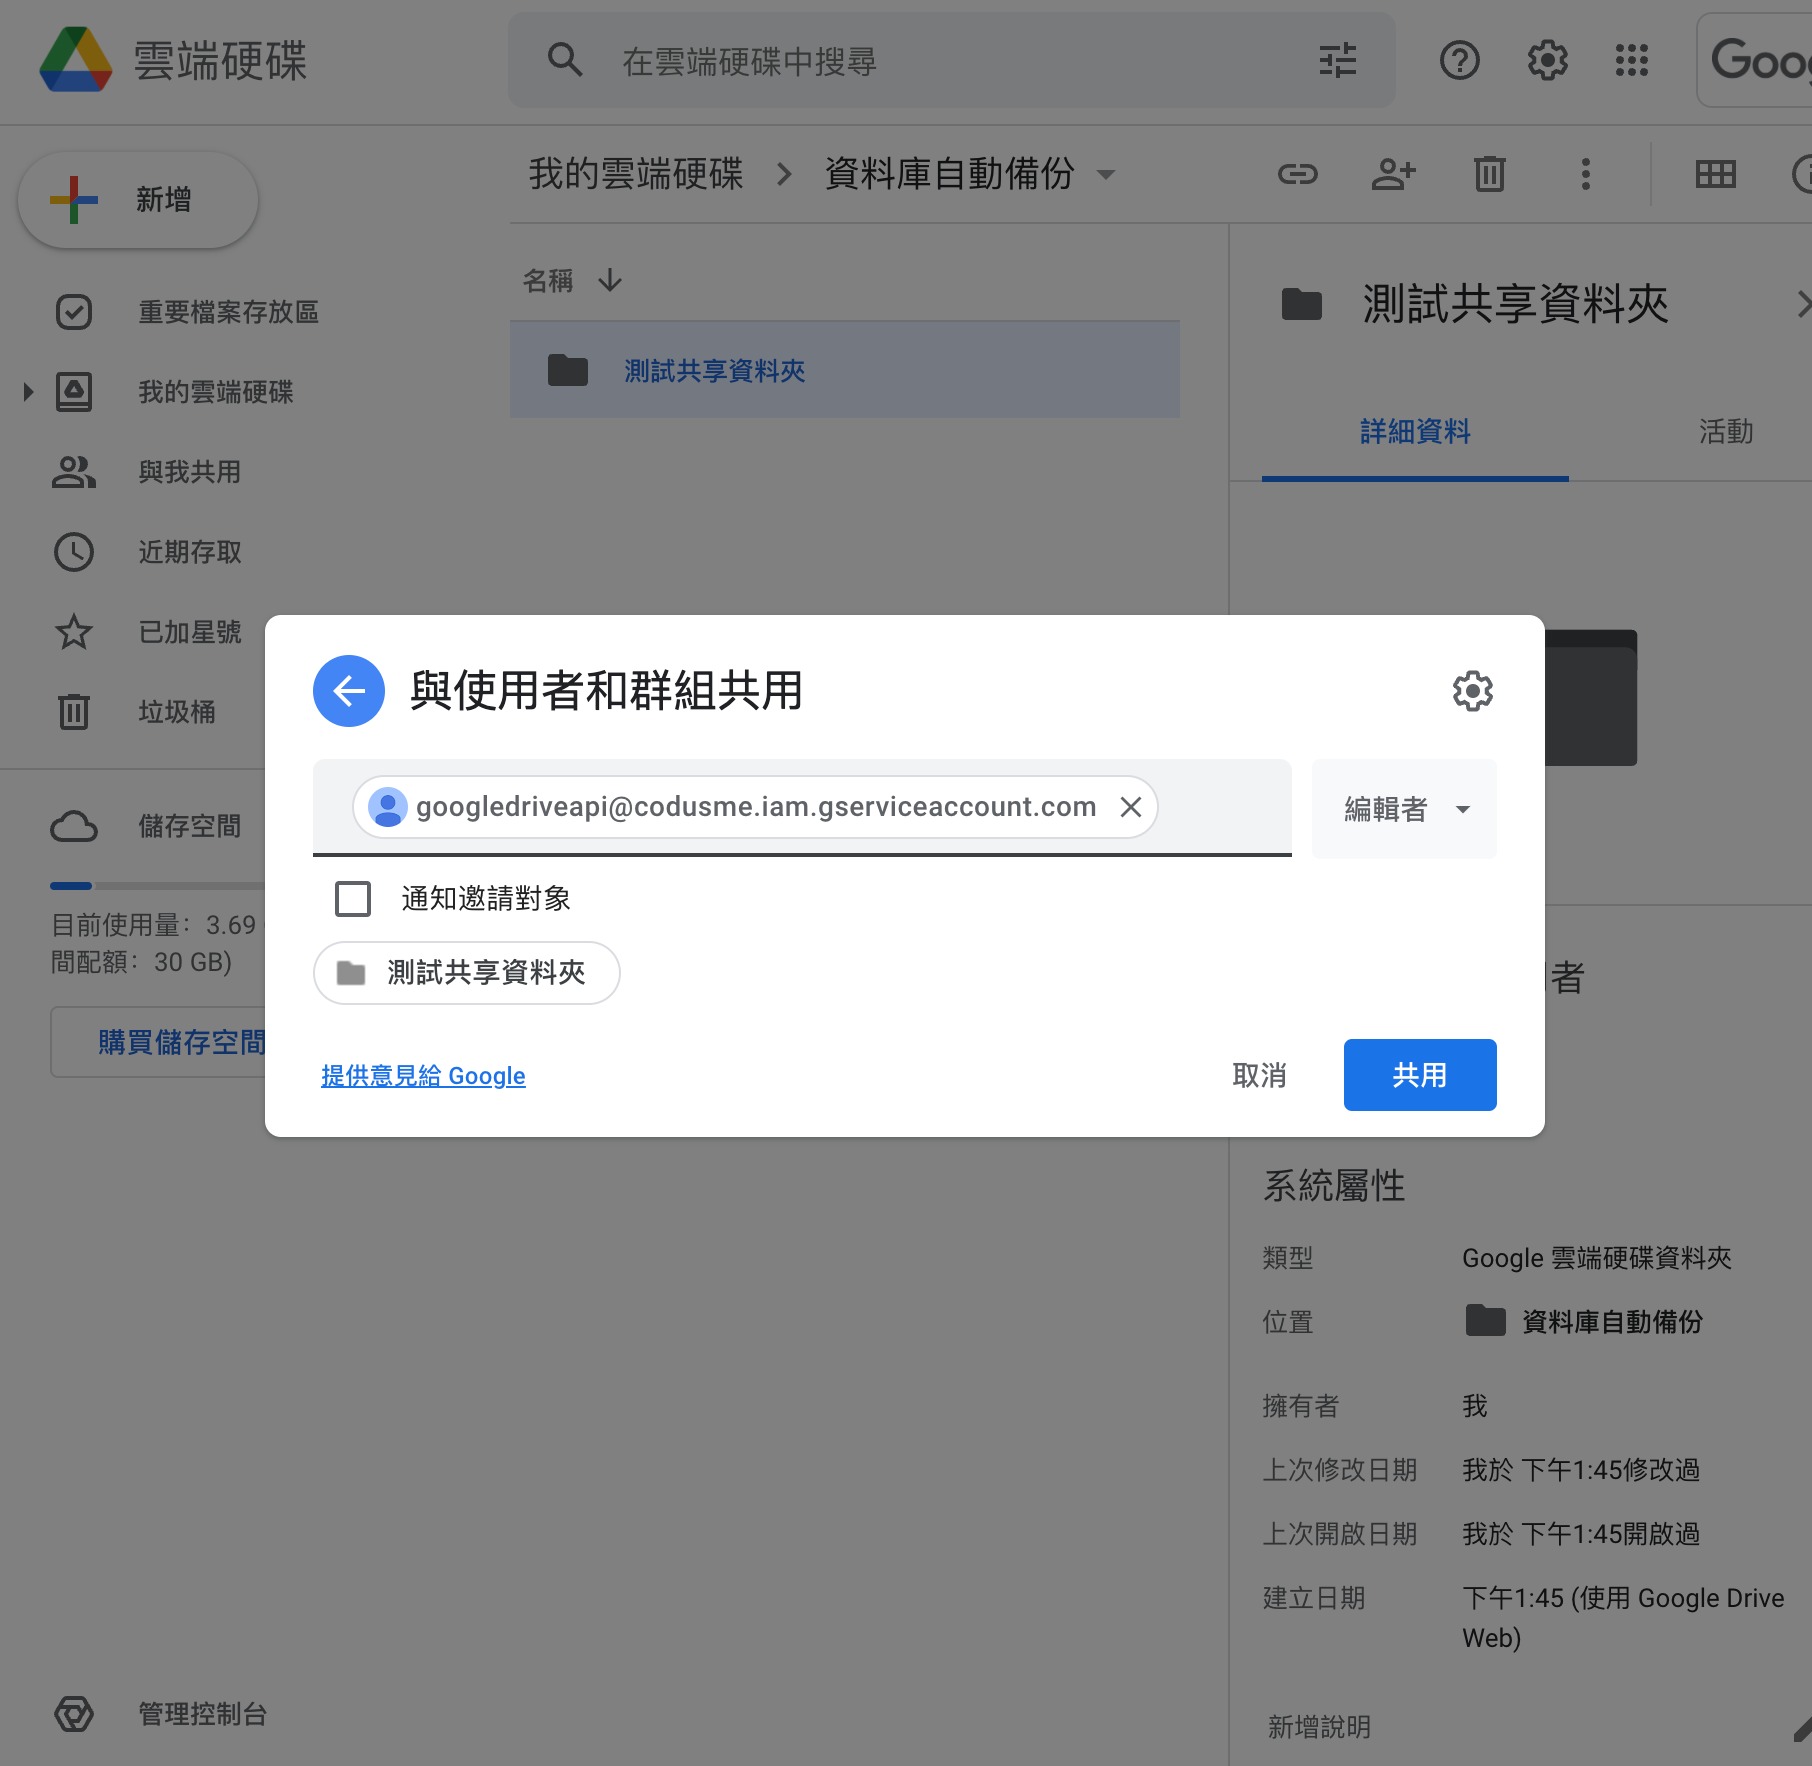
步驟3 建立資料夾並設定共享
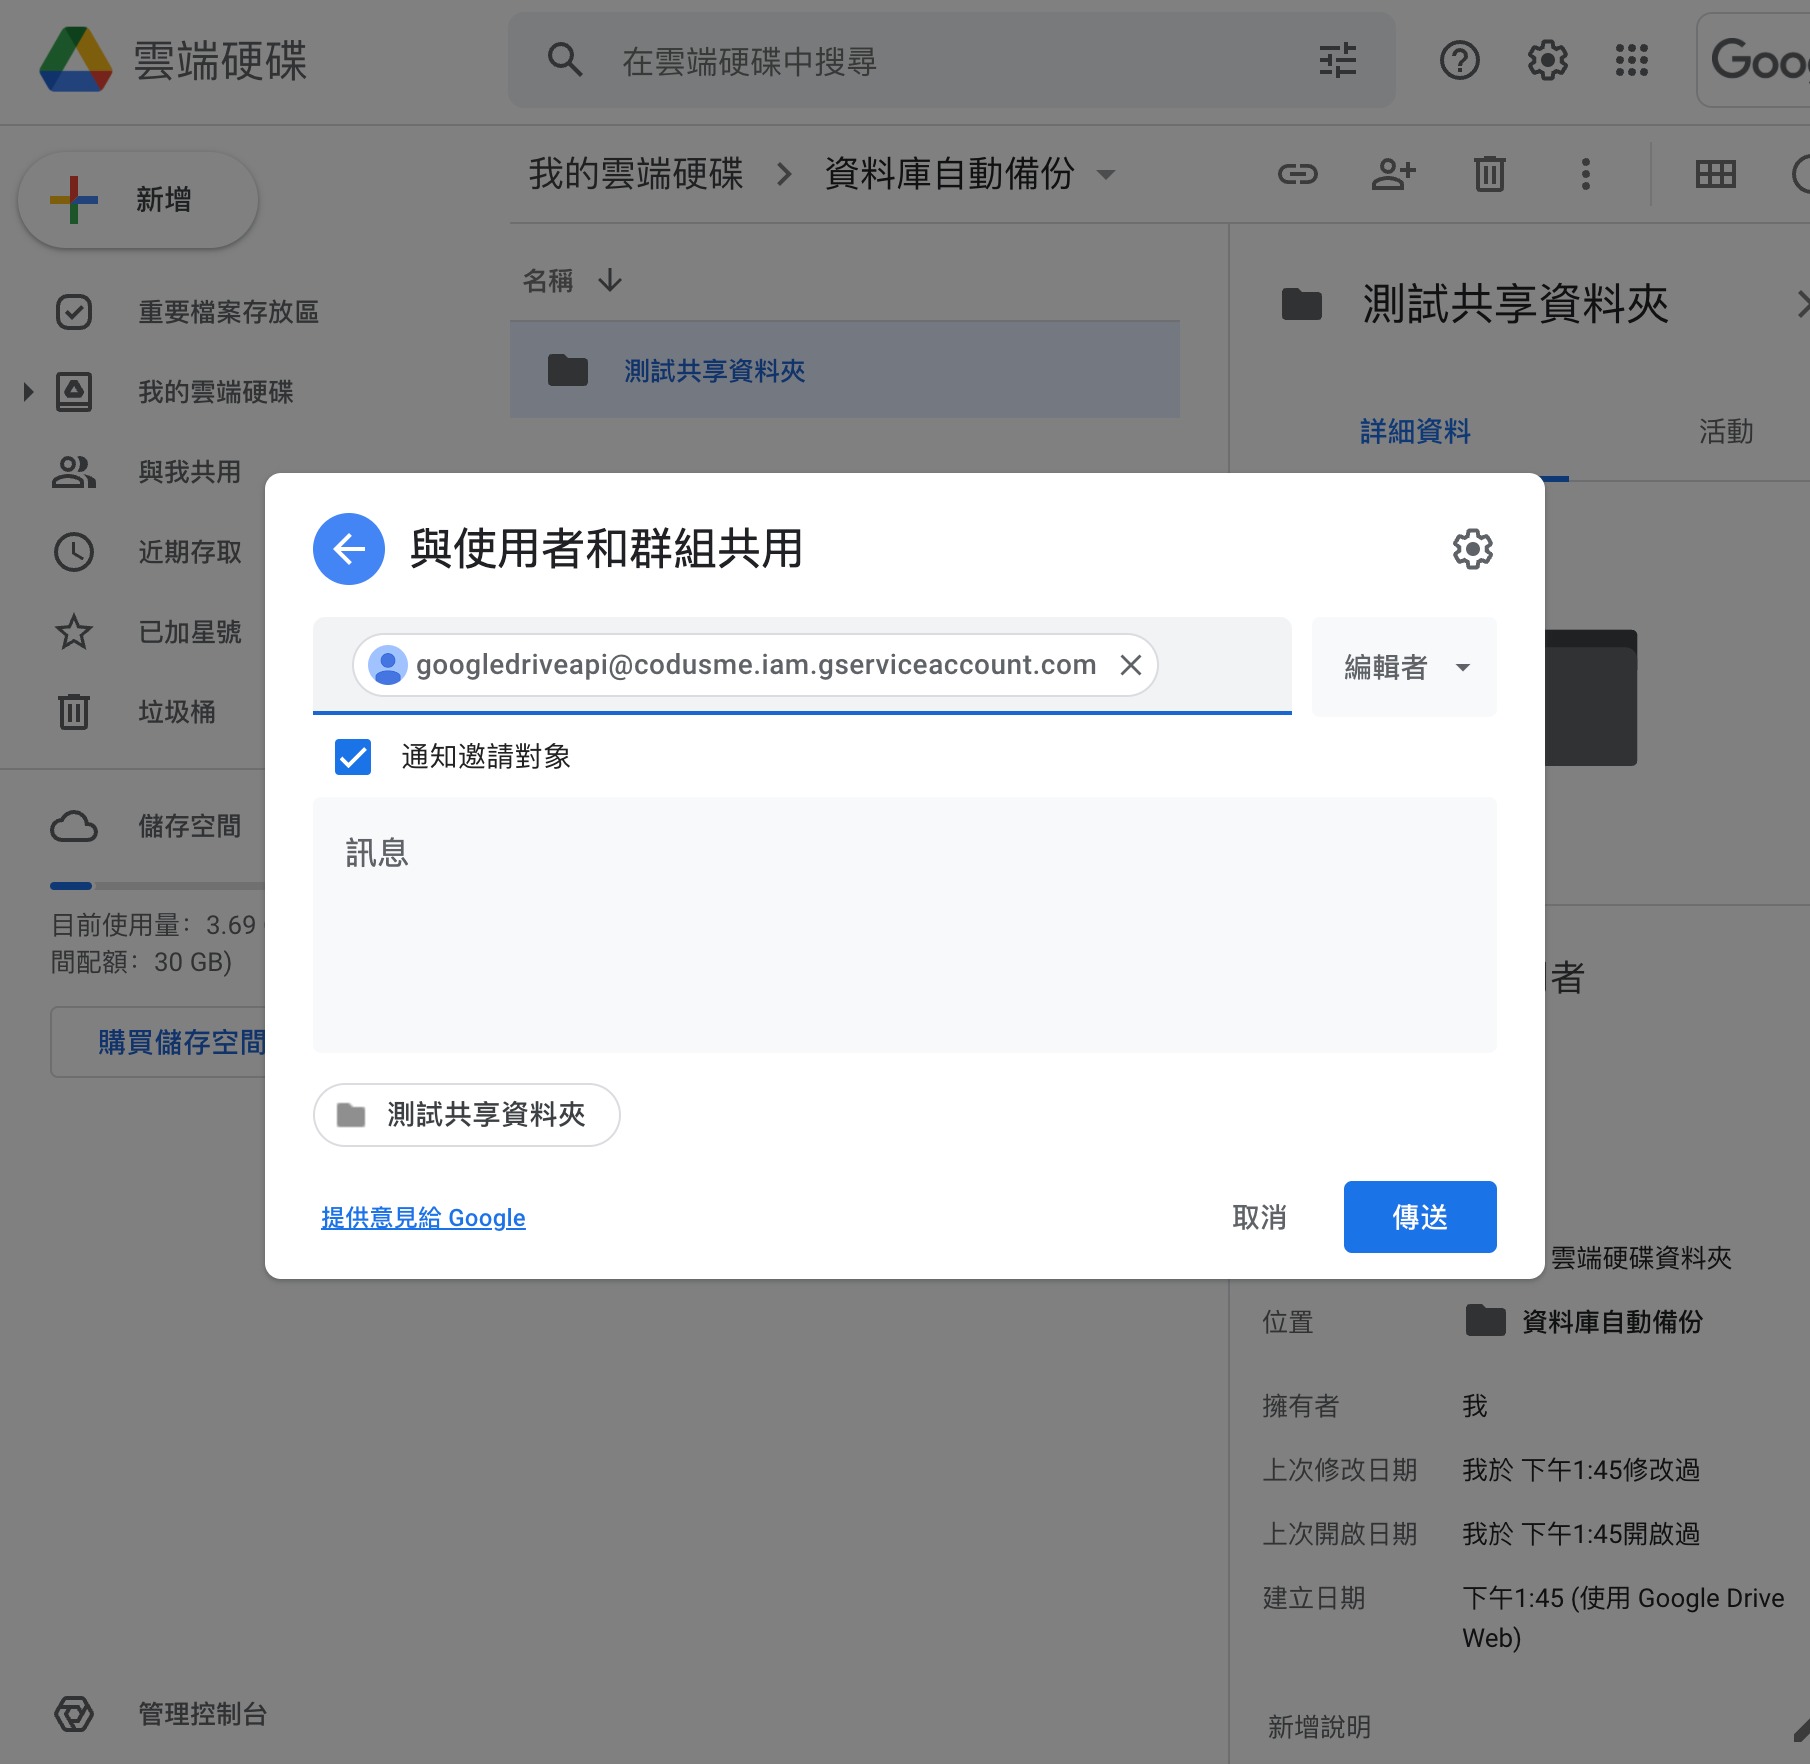
請客戶在 Google Drive 中建立一個資料夾,
並且與「剛才在步驟2建立憑證後新增的服務帳號」共享。
共享後,我們就能透過服務帳號的權限,存取這個資料夾,而不用透過原本資料夾擁有人帳號的 OAuth 驗證取得存取權限了。
步驟4 取得資料夾的ID
接著,我們將撰寫程式存取剛才客戶共享給服務帳號的資料夾。
首先,我們需要抓取該資料夾的 ID,因此我們透過「google.golang.org/api/drive/v3」來取得服務帳號在 Google Drive 所有看得到的檔案,也包含剛才共享的資料夾。
輸出範例如下:
Files:
dbbackup-2022-04-02_142308.sql (1eNtcGlsnnHdI3eECPxxxxxxxxxxxxxxx)
dbbackup-2022-04-02_141906.sql (1pqCkgCJ3AA97KLUUfxxxxxxxxxxxxxxx)
dbbackup-2022-04-02_141659.sql (1tktnJsEgSVfWMO7-hxxxxxxxxxxxxxxx)
dbbackup-2022-04-02_141147.sql (11JigE6cyjfct8q1emxxxxxxxxxxxxxxx)
測試用資料夾 (1AakLanQfa63TXUnQuxxxxxxxxxxxxxxx)